I have a friend who owns a nursery in Vermont. For as long as I can remember she's been interested in landscape design and has a great eye for combing a variety of flowers to create magnificent bouquets. When it comes to finding that unique combination Trish was known for picking wildflowers from the side of the road. If she was unsure of the name of a plant she would call it a "roadeshia". The freedom to make up names inspired me to create "Red Roadeshia" which is a completely made up flower!
Using red wool roving I created the flowers with the felting technique. Each center was filled with silk gauze and quilted. The stems are hand dyed fabric with a commercial backing. It's a simple but fun design... do you have your own version of a roadeshia?
Carol R. Eaton Designs
FABRIC FOR SALE: click on pages below!
Sunday, July 8, 2012
Thursday, July 5, 2012
Confetti Dying Technique and Tips
I've enjoyed developing the techniques for "confetti dyed" fabrics and feel I'm at the point where the development phase is over. That's not to say I've stopped learning because each time I try the technique I learn something new and interesting... what I mean is I can share my process and now you can start playing around! You have to promise to send photos or comments with your results though!
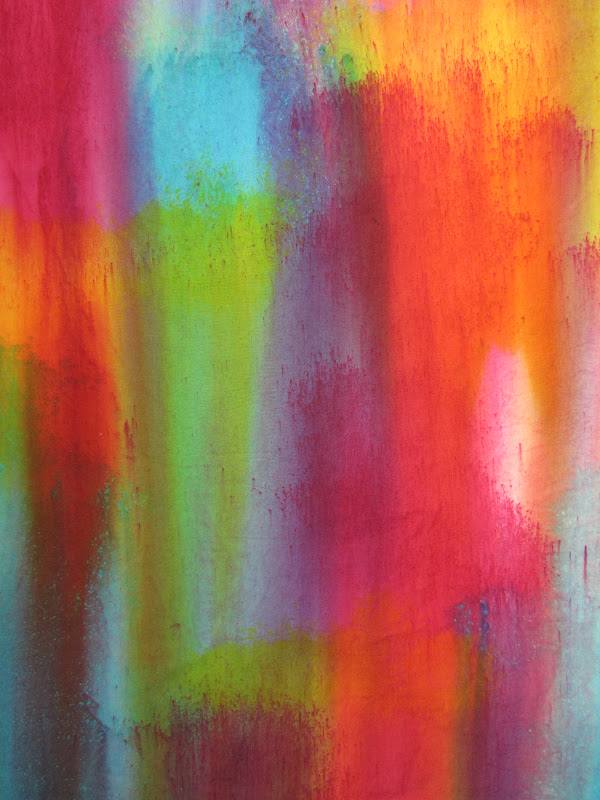
Let me start by telling you how I came across the idea. I was chatting with a vendor at a show who had the most luscious "straw dyed" fabrics. She explained her process which included dispersing the dye using a drinking straw. She was very open about her technique and said she too had learned by talking with people and experimenting. She encouraged me to go home and try it for myself. Let's just say I must have missed part of what she said because her technique did not work for me! I didn't like using a drinking straw and wasn't able to wear my "dust mask" while working with the dye (this is a must for everyone as the dye powder is very fine and easy to breath into your lungs). When I saw my first results to me it looked like confetti exploded across my fabric which is why I coined the technique "confetti dying".
| Once you get comfortable with the process you can plan where you want to place the dye so when it runs together more colors are created. |
Wednesday, July 4, 2012
Neddle Felting + Confetti Dying = A Water Lily Tablerunner
One of my favorite places to kayak is in a lagoon area off Silver lake. I call it "dragonfly world" because there are more dragonflies in that one area than you could ever imagine - it's amazing! You can even hear their wings vibrating; they sound like paper tearing. There are also a ton of beautiful water lilies and I really wanted to recreate the feel of the lagoon and turn it into a table runner.
I used a piece of confetti dyed fabric as the base with avocado green for the sashing. It was fun to do and I really enjoy combining different techniques into each piece.
The first task was to create the lily's and leaves. I used the needle felting technique which is demonstrated in the photos below...
| Here are the finished lily's and leaves. I added a few beads to the center of each flower. |
What are your favorite techniques to combine?
Monday, July 2, 2012
Dying Techniques X 3!
I live in New England where we enjoy 4 seasons and decided to create a series of season inspired fabrics. I've never been one to seek out solid colored fabrics so I thought about what techniques I could use for the end result to be colorful and unique. I decided to do a study comparing confetti dying to ice cube dying using the same colors. In corresponding with Carol Ludington she wondered what would happen if ice cubes were added to the confetti style so this was the perfect opportunity to find out!
Below are my winter, spring, summer and fall fabrics. The first fabric photo will be the confetti dying technique, the second fabric shown will be ice cube dying and the third photo will be a combination of the two. Let me know which technique you like the best!
| Winter Creating the feeling of a cold and grey New England day proved to be challenging |
| Spring After the long winter months the lively spring colors are a treat! |
| Summer The heat and humidity in the summer can feel pretty intense |
| Fall Fall in New England is special time with the foliage changing into the most interesting colors! |
Wednesday, June 13, 2012
Vintage Fabrics Galore!
I've been collecting vintage fabrics for a number of years - I'm not quite sure why but they seem to evoke a connection to the past that I treasure. I was asked to be a guest artisan at the Norfolk Artisan Guild in Norfolk, CT this coming September and October. Although it seems a long way off I know the fall will be here before I know it so I got started on some inventory. I decided to use my vintage fabrics to create table runners and pillows. I also have antique buttons so I added a few here and there. Some fabrics are actual "feed sacks" that I found at the Monroe Historical Society sale. It was hard to cut them but I took a deep breath and went for it!
Vintage Pillows
South of the Border Fabrics!
I just sent a package of ice cube dyed fabric to Mexico - my first international sale! Pam if you're out there please send photos of your work. I would love to post pictures of how you used the fabrics!
Subscribe to:
Posts (Atom)