Carol R. Eaton Designs

Carol R. Eaton Designs

FABRIC FOR SALE: click on pages below!

Showing posts with label Confetti Dying. Show all posts

Saturday, April 26, 2014

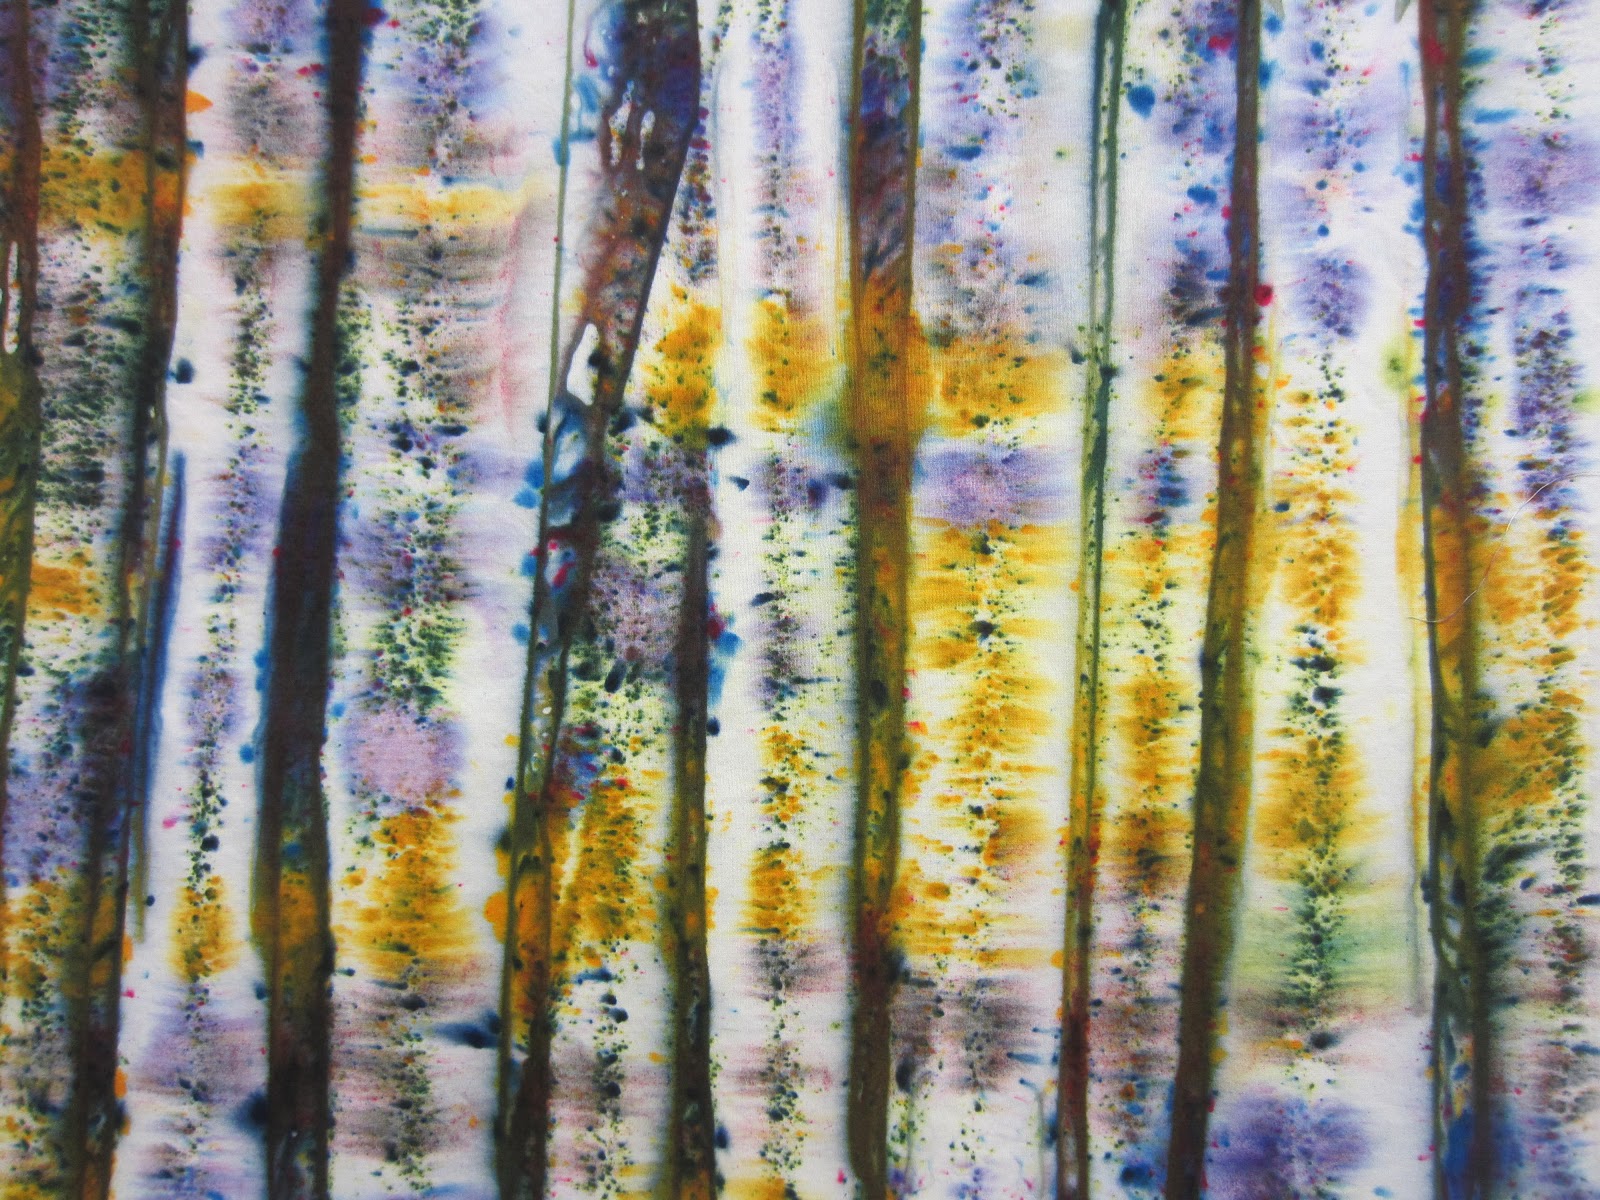
Combining Techniques = Confetti and Ice Dyed Fabric

I love creating textured fabric and the confetti dye technique lends itself perfectly to this effect. Incorporating ice dyeing in the next step adds a depth to the piece that I find really unique. 

I began by making gentle vertical folds in damp fabric. Don't forget to soak the fabric in soda ash and water for at least 30 minutes before you start! Next shake dye across the surface of the fabric with a strainer, (I used black). I like to go back and spray the fabric with soda ash and water just to get the dye to meander more deeply into the folds of the fabric. Once dry I rinsed and washed as usual and then tossed it back into the bucket of soda ash and water to prep for the ice dye bath. I could have stopped here because the fabric had the suggestion of birch trees but I decided to go for the ice bath! 


After 30 minutes I wrung out the excess water and scrunched the fabric into a bucket. I  covered the surface with ice. Next I sprinkled dye powder over the ice, (I used brown). This step requires more patience because you need to allow time for the ice to melt. Once that happens you can rinse and wash your fabric to get rid of the excess dye... viola! 

Try this combination of techniques with any color palette that appeals to you - the textures are wild! 


NOTE: ALWAYS WEAR A MASK WHEN WORKING WITH DYE POWDER! 

Tuesday, July 16, 2013

Confetti Dyeing - Working Outside!

The price of having fun with dyes!
I love working outside and despite the record heat I've been getting outside to mess around with the dyes! I decided to create some confetti dyed projects. I chose 4 yards but will only show you a few. The others went into the "to be continued" pile.


Purple, Yellow and Raspberry
The dye is sprinkled across the surface of the fabric.
I hung the fabric on the line and sprayed with soda ash and water to allow the dye to blend and meander down the surface.

Detail

Pink and Blue Stripes

Look at the variety of dye particles in this piece!
 The pieces that went into the "to be continued" pile need more pizazz. I may over dye with ice or maybe experiment with batik... as I said - to be continued!

Tuesday, February 19, 2013

Fabric Dyeing!

With the backyard encased in snow I feel the need to create vibrant bright pieces of fabric! Don't get me wrong, I love and appreciate the colors of winter but by the end of February my soul needs a pick me up! I used the ice dyeing technique for the first three pieces. The next three incorporates confetti dyeing but with a twist. My goal was to create the illusion of folds in the fabric giving it a 2D feel.

Ice Dyed

Ice Dyed

Ice Dyed

Confetti Dyed

Confetti Dyed

Confetti Dyed

Wednesday, September 26, 2012

Fabric Dying and Manipulation!

I had a wonderful weekend experimenting in my studio! I created 10 yards of iced dyed or confetti dyed fabrics as well as about 4 yards of manipulated fabric using the discharge method. I had a few "duds" and some "yeahs" which are both good for learning and growing. Of course we all want to be enamoured which each piece but when the fabric doesn't turn out as planned you learn something about the process that can be applied to the next project. Perhaps the "duds" are just not quite finished yet... I'll keep working on them. Maybe I'll discover a new technique by not giving up?!

Here are some fun pieces; my focus was on color combinations.
 
Confetti Dying: Cobalt Blue & Fuchsia

Confetti Dying: Blue (only one color used)

Confetti Dying: Blue & Yellow

Confetti Dying: Blue, Red & Yellow

Iced Dying

Iced Dying

Iced Dying

Discharge
 

Tuesday, September 11, 2012

Favorite Dying Techniques: Iced Dying and Confetti Dying!

I had time to get back to my dye pots over the weekend and couldn't decide which technique to use so I chose a couple of my favorites! The first two photos are iced dyed cotton and the bottom two photos are confetti dyed fabrics. 

Iced Dyed Cotton
I combined orange, violet and green

Iced Dyed Cotton
I combined lavender with gray

Confetti Dyed Cotton
I first shook bronze dye powder and two shades of yellow
over the fabric and added liquid green dye

Confetti Dyed Cotton
I combined dry dye powder with liquid dye. I brought the fabric to a CFAC workshop where I added Dye-Na-Flow dyes for a variation of color

Monday, May 28, 2012

4 Techniques!

Q: How can you tell when the fabric done?
A: When it feels right!

I started with ice cube dying but it was a little pale. I added confetti dying using blue but it still needed more. I went in the yard and picked some leaves and ferns. Using silk screen ink I stamped the natural leaves onto the piece... but it wasn't quite finished. Lastly I took some yellow and orange paint and added some here and there.

Finally, it felt right!


I'm thinking a large single dark flower might work with this as the background fabric... what would you do with it?!

Thursday, May 24, 2012

More Confetti Dying Fun!

I learn something each time I experiment with this technique. This session the conditions were perfect - no wind to blow the soggy wet dye drenched fabric back on me - defiantly a bonus!

In this piece I used fuchsia, orange and turquoise. I was curious about how the colors would blend and as you can see I came out with greens, yellows and purples! I just love surprises...


Thursday, May 10, 2012

Comparing Dying Techniques

I continue to be excited by surface design and at this point I'm starting to take a more focused approach to my sessions. In this segment I wanted to compare 3 different techniques using the same colors just to see how they would compare to each other. My examples are below; you'll compare confetti dying, ice cube dying and then the typical dye immersion method. This was a good learning experience and each time I dye I discover something new!

I hope you enjoy the results. I found it amazing that the same colors were used because the results were so different. I have a favorite method but I won't say anything so you can take a look and make your own decisions!

The colors used below are yellow and wet sands


Confetti Dying - Yellow & Wet Sands

Ice Cube Dying - Yellow & Wet Sands

Dye Immersion - Yellow & Wet Sands
 The below fabrics combine Blue, Red and Yellow


Confetti Dying - Blue, Red & Yellow

Ice Cube Dying - Blue, Red & Yellow

Dye Immersion - Blue, Red & Yellow

The below colors are Yellow and Red


Confetti Dying - Yellow & Red

Ice Cube Dying - Yellow & Red

Dye Immersion - Yellow & Red

Drippings - Yellow & Red
I placed fabric below the confetti dying piece as it was hung and this is the result of the excess dye dripping down. It was another unexpected delight!

As you can see the technique makes a huge difference in how the colors blend and the results are pretty unique. Did you have a favorite? Mine is the ice cube dying... the way the colors come out with such depth is like opening a present every time I rinse the fabric! 

Wednesday, April 25, 2012

NEW - Confetti Dying!

Last weekend I went to the Connecticut Piecemaker's quilt show in Southbury, CT. There were many, many lovely quilts on display and I ran into some folks I haven't seen in quite some time. My girlfriend and I spent time pouring over the vendor tables talking to the proprietors and learning about the latest trends. We spent a long time chatting with Nancy Begin from Rainbow Dyes. In addition to her beautiful hand dyed fabrics Nancy developed a line of fabric using a "straw dyed" technique. Nancy teaches a workshop on how to straw dye and with her warm and open personality I'm sure her students are very pleased. Nancy was more than willing to explain her process and being ever curious we got into a detailed conversation about her methods. 

I asked Nancy if she would mind if I experimented with the technique. She said she developed her own style only after working through other people's ideas and encouraged me to give it a try. Of course over the next few days I became obsessed with the technique but my results were not the same as Nancy's. I immediately switched out the process of using a drinking straw to scatter the dye particles to using a strainer. I'm very careful to protect my lungs when using powdered dyes and a strainer seemed safer. I played around with the amount of mist used and combinations of dye powder. It's really a fun process but I have a long way to go before I'm super happy with the results.

I'd prefer to call the method "Confetti Dying" because of the way the dye explodes and migrates through the fabric. Here are my first attempts:


The mustard color is the spice Turmeric!


I will be back in the studio playing and creating soon...
I will provide more information as I fine tune the process and results!